The target files you have prepared will now be used. Transfer the “Servers” directory to the target computer that will later serve as a server. The setup of the server as well as the required services is done on the “Configuration” tab of the ElvisSupport application.
Configuring the server
This is done via the first entry “Elvis Server Configuration”. Double-click on the dot and a dialog will open in which you select the transferred *.config file from the “Server” folder. Confirm the subsequent dialog for the server settings with “OK”.
Setting up services for Elvis Server and ElvisMobile
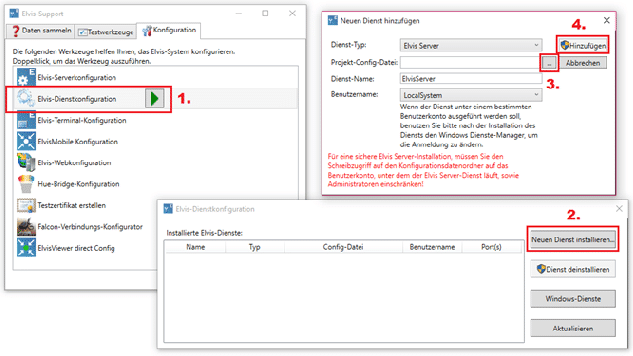
On the configuration page, double-click on the second item “Elvis Service Configuration”! Initially, you will not find any services in the service configuration window. Therefore, click on “Install new service…”. Now you will be offered a dialog that will allow you to add a new service. Select your config file and confirm the changes with “Add”:
You can now exit this window and return to the configuration overview.
Setting up ElvisMobile as a service
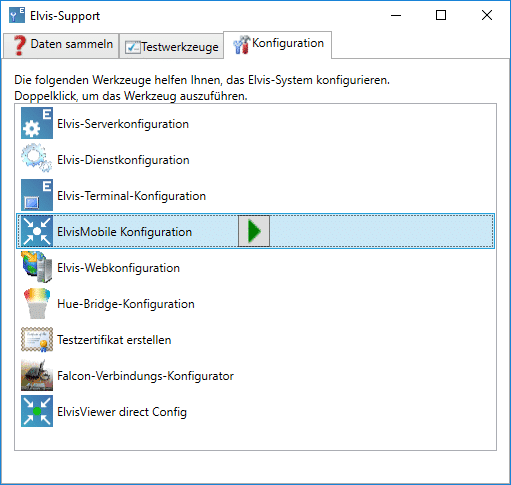
Within the Elvis Support Tool, under the “Configuration” tab, open the item “ElvisMobile Configuration” by double-clicking:
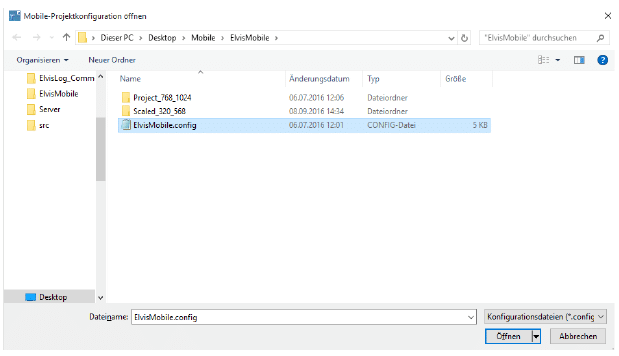
Select the appropriate *.config file from your “ElvisMobile” folder within the target files:
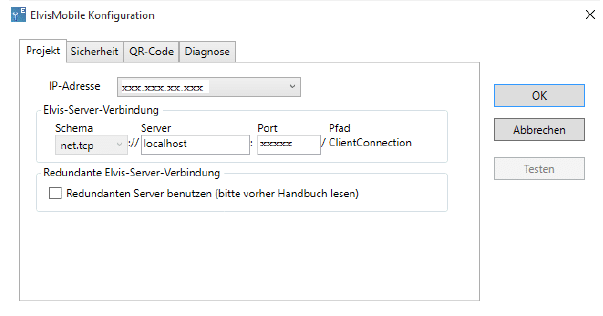
The following window opens with the IP address of the computer on which the Elvis server is running:
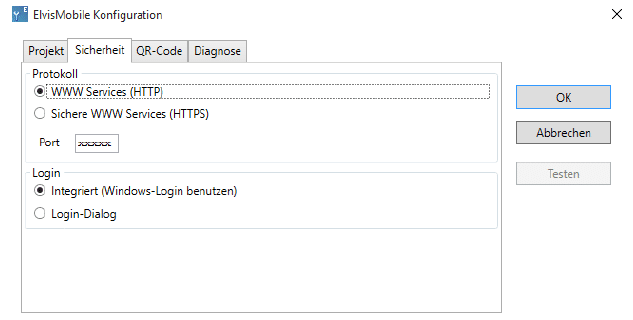
If you are working with a password (user rights), you must switch to “Login dialog” under the “Security” tab.
It is important here, if you want to work with HTTPS, that you change this here as well as within the “Elvis Viewer” app under “Settings”! The user name and password can also be specified here if you are working with user rights within the configuration.
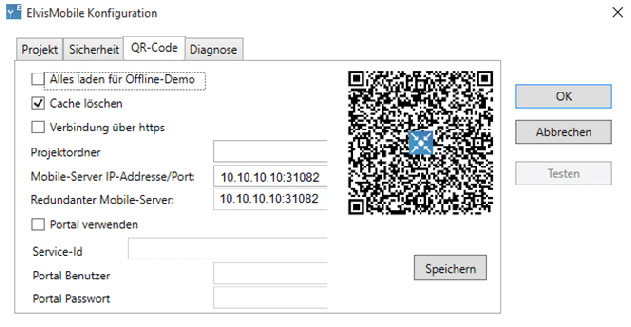
Under the “QR Code” tab, you can scan the code directly into your mobile device:
You can also manually enter the IP address within the settings of the “Elvis Viewer” app.

